
Light the green screen separately from your subject, keep the screen evenly exposed, and eliminate shadows before you ever open keying software. That is the whole game. A clean chroma key starts on set, not in post. If the green background is patchy, wrinkled, too bright, too dark, or contaminated by subject shadows, even great software will struggle.
TLDR: Place your subject 6 to 10 feet in front of the green screen, light the background evenly, then light the subject as if the screen were not there. Aim for the screen to vary by no more than about 5% across the frame, or roughly 5 IRE on a waveform monitor. For example, a corporate presenter filmed in front of a 10 foot green screen will usually key much faster if two soft lights hit the screen from both sides while a separate key light, fill light, and back light shape the person. Clean lighting can cut masking and edge repair time by 50% or more on many talking head shoots.
Start With Distance, Not Lights
The most common green screen mistake is placing the subject too close to the background. That creates two problems: shadows and green spill. Shadows make the green uneven. Spill reflects green light onto skin, hair, glasses, and clothing.
For a seated interview, try to keep the subject at least 6 feet from the screen. For full body shots, push that to 8 to 10 feet if the room allows it. More distance gives you room to light the screen and the person as two separate jobs.
It drives me crazy that many bad keys are blamed on editing software when the subject was standing two feet from a wrinkled screen. At that point, the editor is not keying. They are rescuing.
Use Soft, Even Light on the Green Screen
The background should not look dramatic. It should look boring. Flat green is your friend. Use soft light sources such as LED panels with diffusion, softboxes, bounced light, or large fluorescent fixtures designed for video.
Place one light on the left side of the screen and one on the right side. Angle them across the background so they overlap smoothly. Avoid pointing both lights straight at the center, since that can create a hot spot.
- Small screen: two soft LED panels may be enough.
- Medium studio screen: use two to four background lights.
- Wide full body setup: use overhead or side lighting to cover the floor and wall evenly.
Check the screen by eye, but do not trust your eye alone. Use your camera’s exposure tools. A waveform monitor is ideal. False color or zebras can also help. The goal is a screen that reads nearly the same from left to right and top to bottom.
Do Not Overexpose the Green
Brighter is not always better. An overexposed green screen can lose color detail and create ugly green bounce. It may also produce glowing edges around the subject.
A good starting point is to expose the green screen around 40 to 60 IRE, depending on your camera profile and lighting style. If you shoot in a log profile, follow the exposure advice for that camera. The point is simple: the green should be rich and clean, not white hot.
If you see shiny patches, hotspots, or clipped areas, lower the background lights or move them farther away. If the screen looks muddy or noisy, raise the light level or lower your camera ISO.
Light the Subject Separately
Once the screen is even, forget about it for a moment. Light the subject like a normal scene. A basic three point lighting setup works well:
- Key light: the main light on the face, usually placed about 30 to 45 degrees to one side.
- Fill light: a softer, weaker light that reduces harsh shadows.
- Back light or hair light: a light behind the subject that separates them from the green background.
The back light matters a lot. It creates a clean edge around hair, shoulders, and dark clothing. It also helps fight green spill. Keep it subtle. You want separation, not a glowing outline.
Control Shadows Before They Happen
Shadows on a green screen are painful. Once a shadow shifts the green into a darker tone, the keyer has to decide whether that area is background or subject. That is where noise, holes, and jagged edges appear.
To reduce shadows:
- Move the subject farther from the screen.
- Raise the key light so shadows fall downward and away.
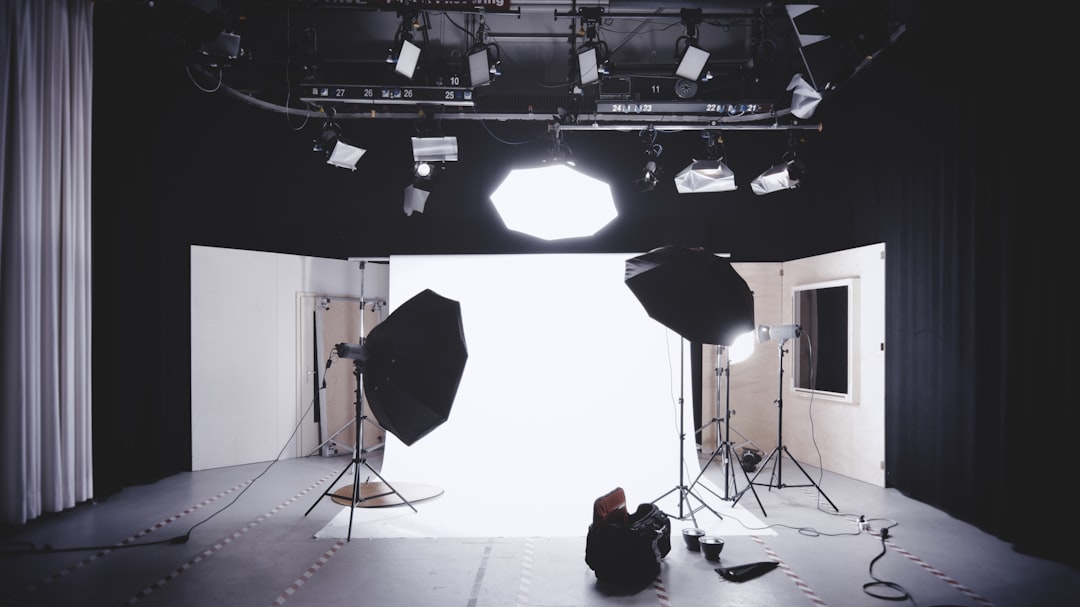
- Use larger, softer lights rather than bare hard lights.
- Keep subject lighting from spilling directly onto the background.
- Use flags, grids, or barn doors to control light direction.
Watch the floor too. Full body green screen shots often fail because feet cast dark shadows on the green surface. Use soft overhead fill or low side fill to even out the floor while keeping the subject grounded.
Reduce Green Spill on Skin and Hair
Green spill is the faint green reflection that bounces from the screen onto the subject. It is most visible on blonde hair, glasses, shiny skin, white shirts, and reflective props.
Distance is the best fix. After that, use a back light with a neutral or slightly warm tone. You can also place black fabric or flags just outside the frame to absorb reflected green light. This is called negative fill, and it can make a huge difference in small rooms.
Avoid green clothing, glossy jewelry, clear glasses with reflective edges, and products with transparent packaging. Honestly, it feels like one shiny water bottle can add ten extra minutes of cleanup to an otherwise simple key.
Set Camera Exposure for a Clean Key
Your camera settings affect the final result as much as the lights do. Use the lowest clean ISO your camera allows. Noise in the green channel can make the background crawl and break apart around edges.
- ISO: keep it low to reduce noise.
- Shutter speed: use a normal motion setting, such as 1/50 for 25 fps or 1/60 for 30 fps.
- Aperture: avoid going too wide if the subject edges become too soft.
- White balance: set it manually. Do not use auto white balance.
- Codec: record the highest quality file your camera allows.
If possible, record 10 bit 4:2:2 rather than 8 bit 4:2:0. Better color data gives keying software more information to work with. It is not magic, but it helps with hair, motion blur, and semi transparent edges.
Prepare the Screen Itself
A green screen must be smooth, clean, and matte. Wrinkles create shadows. Gloss creates reflections. Dirt creates random color shifts. Steam or stretch fabric backgrounds before the shoot. For painted studio cycloramas, repaint worn spots when they start to show scuffs.
Use a saturated chroma green, not a random green bedsheet. Fabric can work, but it must be evenly colored and non reflective. Pull it tight with clamps. If it sags, it will create folds that are harder to fix later.
Run a Fast Test Key Before Filming Everything
Record a 10 second sample before the real shoot. Include movement, hands, hair, and any props. Then do a quick key in your editing software. This catches problems while you can still fix them.
Check for rough edges, green halos, shadow patches, noise, and missing details. If the key fails, adjust the set before recording the full session. Expect to waste time on post if you skip this step. A quick test can save hours.
Quick Green Screen Lighting Checklist
- Keep the subject 6 to 10 feet from the screen.
- Light the green screen and subject separately.
- Use soft, even background lighting.
- Keep the screen exposure consistent across the frame.
- Avoid overexposing the green background.
- Add a back light to separate the subject.
- Control spill with distance, flags, and negative fill.
- Use manual white balance and low ISO.
- Test the key before the real take.
Great green screen lighting is not flashy. It is controlled, even, and clean. When the background is smooth, the subject is separated, and the exposure is stable, chroma keying becomes simple. That is the real goal: less fixing, fewer artifacts, and a result that looks like it was shot that way from the start.