



WP Rocket is the better caching plugin for most WordPress sites because it is faster to set up, harder to break, and easier for non-technical users to understand. W3 Total Cache is still powerful, but it asks more from you. That matters because Google has reported that the probability of a mobile visitor leaving rises sharply as load time increases from 1 to 3 seconds [source: Think with Google].
TLDR: Choose WP Rocket if you want a clean setup that can improve speed in under 15 minutes. Choose W3 Total Cache if you want deep control and do not mind testing settings one by one. For example, a small WooCommerce store loading in 4.2 seconds might drop to around 2.4 seconds after page caching, file optimization, and lazy loading are configured correctly. If you manage 20 client sites, WP Rocket may save hours; if you run one technical site on a tight budget, W3 Total Cache can still make sense.
What WordPress caching actually does
WordPress builds pages using PHP, database queries, theme files, plugins, images, scripts, and styles. That takes time. Caching stores a ready-made version of a page so the server does not rebuild it for every visitor.
Think of it like printing a restaurant menu. Without caching, the kitchen writes a fresh menu for each guest. With caching, guests get a printed menu instantly. Much better. Much less chaos.
Good caching can reduce server load, improve first-page response, and help with Core Web Vitals. Those metrics include Largest Contentful Paint, Interaction to Next Paint, and Cumulative Layout Shift [source: web.dev].

WP Rocket vs W3 Total Cache at a glance
- WP Rocket: Premium plugin, simple interface, strong defaults, beginner friendly.
- W3 Total Cache: Free core plugin, many advanced settings, more technical setup.
- Best for blogs: WP Rocket, because setup is quick and clean.
- Best for developers: W3 Total Cache, especially when server rules and object caching matter.
- Best for WooCommerce: WP Rocket for most stores, but test cart and checkout exclusions.
The catch is that both plugins can make a site worse if you turn on every option at once. Minification, deferred JavaScript, and removed unused CSS sound great. Then a menu stops opening. Or a checkout field vanishes. That is not “optimization.” That is a Tuesday you did not ask for.
WP Rocket setup guide
WP Rocket wins on setup because the basics activate right away. Page caching starts without hunting through 30 panels. That alone is a relief.
- Install and activate WP Rocket. After activation, basic page caching is already enabled.
- Open the Cache tab. Enable mobile caching. Keep separate mobile cache only if your mobile layout is truly different.
- Set cache lifespan. For blogs, 10 hours is fine. For news sites, use a shorter value.
- Go to File Optimization. Enable CSS minification first. Check your site. Then try JavaScript minification.
- Enable Load JavaScript Deferred. Test menus, sliders, forms, and analytics scripts.
- Use Delay JavaScript Execution carefully. This can help speed scores, but it may delay chat widgets and tracking scripts.
- Enable LazyLoad for images and iframes. This helps long posts and product pages.
- Use Preload. Let WP Rocket build cache after content changes.
- Add a CDN if you use one. Connect your CDN URL inside the plugin settings.
Honestly, it feels like WP Rocket was built for people who have better things to do than babysit cache settings. Most users can enable a few features, test the site, and move on.
Best WP Rocket settings for most sites
- Enable cache for mobile devices: Yes.
- Enable minify CSS files: Yes, but test layout.
- Optimize CSS delivery: Yes, if your theme handles it well.
- Minify JavaScript: Yes, test carefully.
- Load JavaScript deferred: Usually yes.
- Delay JavaScript execution: Use for third-party scripts after testing.
- LazyLoad images: Yes.
- Database cleanup: Monthly, not daily.
Do not enable every checkbox just because it exists. Speed testing is not a slot machine. Change one area, test, then move to the next.
W3 Total Cache setup guide
W3 Total Cache is powerful, but the interface can feel like walking into an aircraft cockpit when you only wanted to turn on the fan. Expect to waste time on settings labels that sound similar but behave very differently.
- Install and activate W3 Total Cache. Go to Performance settings.
- Enable Page Cache. For shared hosting, use Disk: Enhanced if available.
- Enable Browser Cache. This helps returning visitors by storing files in their browser.
- Enable Minify only after testing. Auto mode can work, but it may break some themes.
- Use Database Cache carefully. On cheap shared hosting, it can sometimes slow the site.
- Use Object Cache only when supported. It works best with Redis or Memcached.
- Connect a CDN if needed. W3 Total Cache supports several CDN styles.
- Empty all caches after changes. Then test in a private browser window.
W3 Total Cache gives you more knobs. That is useful when your host supports advanced caching tools. It is less useful when you are guessing. Beginners often enable database cache, object cache, minify, and CDN settings together, then wonder why the admin area feels slower.
Best W3 Total Cache settings for most sites
- Page Cache: Enabled.
- Page Cache Method: Disk: Enhanced on many shared hosts.
- Minify: Disabled at first. Enable later if needed.
- Database Cache: Usually disabled on shared hosting.
- Object Cache: Enable only with Redis or Memcached support.
- Browser Cache: Enabled.
- CDN: Enabled only if you use a CDN.
Performance testing: how to avoid guessing
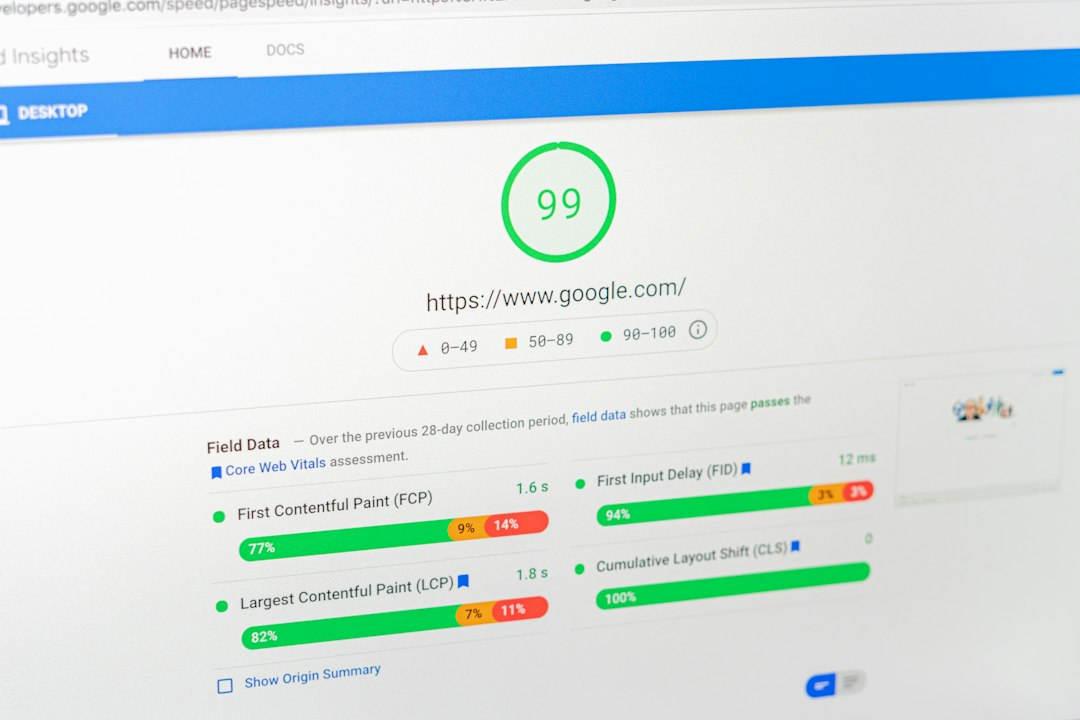
Before changing settings, write down your current numbers. Use tools like PageSpeed Insights, GTmetrix, WebPageTest, or your host’s performance panel. Test the same page each time. Your homepage, a blog post, and a product page are good choices.
Track these numbers:
- Fully loaded time
- Time to First Byte
- Largest Contentful Paint
- Total page size
- Number of requests
A realistic win is often 20% to 50% faster load time after proper caching and file optimization. If your site drops from 3.8 seconds to 2.1 seconds, that is a meaningful gain. If it drops from 1.4 seconds to 1.2 seconds, stop obsessing and work on content, conversion, or images.
Which plugin should you choose?
Choose WP Rocket if:
- You want the fastest setup.
- You manage client sites.
- You run WooCommerce and want safer defaults.
- You dislike crowded settings pages.
- You can pay for a premium plugin.
Choose W3 Total Cache if:
- You want a free caching plugin.
- You understand hosting layers and server caching.
- You use Redis, Memcached, or custom CDN rules.
- You are comfortable testing technical settings.
- You do not mind a steeper learning curve.
Common caching mistakes
- Caching logged-in users: This can cause strange admin or membership issues.
- Caching cart and checkout pages: Never do this on WooCommerce stores.
- Minifying twice: Do not let your host, CDN, and plugin all minify the same files.
- Ignoring mobile testing: Your desktop score is not the whole story.
- Forgetting to clear cache: Old files can hide fixes and create confusion.
Also watch your hosting. A caching plugin cannot fully rescue a slow server, bloated theme, or 8 MB hero image. It helps, but it is not magic.
Final recommendation
For most WordPress users, WP Rocket is the safer and faster pick. It gives strong results with fewer decisions and less risk. W3 Total Cache remains a solid option for technical users who want control and prefer a free plugin.
If you are setting up caching today, start simple. Enable page caching, browser caching, lazy loading, and careful file optimization. Test after each change. The best caching setup is not the one with the most boxes checked. It is the one that makes your site faster without breaking what your visitors came to do.