




Clean a DVD by wiping it from the center hole straight outward with a soft microfiber cloth, using distilled water first and mild dish soap only when needed. Never wipe in circles, never use paper towels, and never spray liquid directly onto the disc. Most skipping and freezing comes from fingerprints, dust, or oily film, not deep scratches.
TLDR: Use a clean microfiber cloth and wipe in straight lines from the center to the edge. If the disc is greasy, lightly dampen the cloth with distilled water or a drop of mild dish soap mixed into water, then dry the disc the same way. For example, if a movie freezes at the 42-minute mark, cleaning fingerprints from the readable side can often fix it in under 2 minutes. In many home cases, surface contamination causes playback trouble more often than permanent damage.
What You Need Before Cleaning a DVD
You do not need a fancy repair kit for basic DVD cleaning. Honestly, it feels like some “disc cleaning systems” make a simple job more annoying than it should be. A careful hand and the right cloth usually work better.
Gather these items:
- Microfiber cloth: Use a clean, soft one made for lenses or screens.
- Distilled water: Better than tap water because it leaves fewer mineral spots.
- Mild dish soap: Use only a tiny amount for greasy fingerprints.
- Isopropyl alcohol, 70% or lower: Optional, for sticky residue. Use sparingly.
- Air blower: Useful for dust. A camera lens blower works well.
Avoid paper towels, tissues, bath towels, window cleaner, acetone, bleach, and abrasive scrub pads. These can scratch the plastic layer or leave residue. DVDs are tougher than they look in some ways, but the readable surface still hates rough treatment.

Know Which Side You Are Cleaning
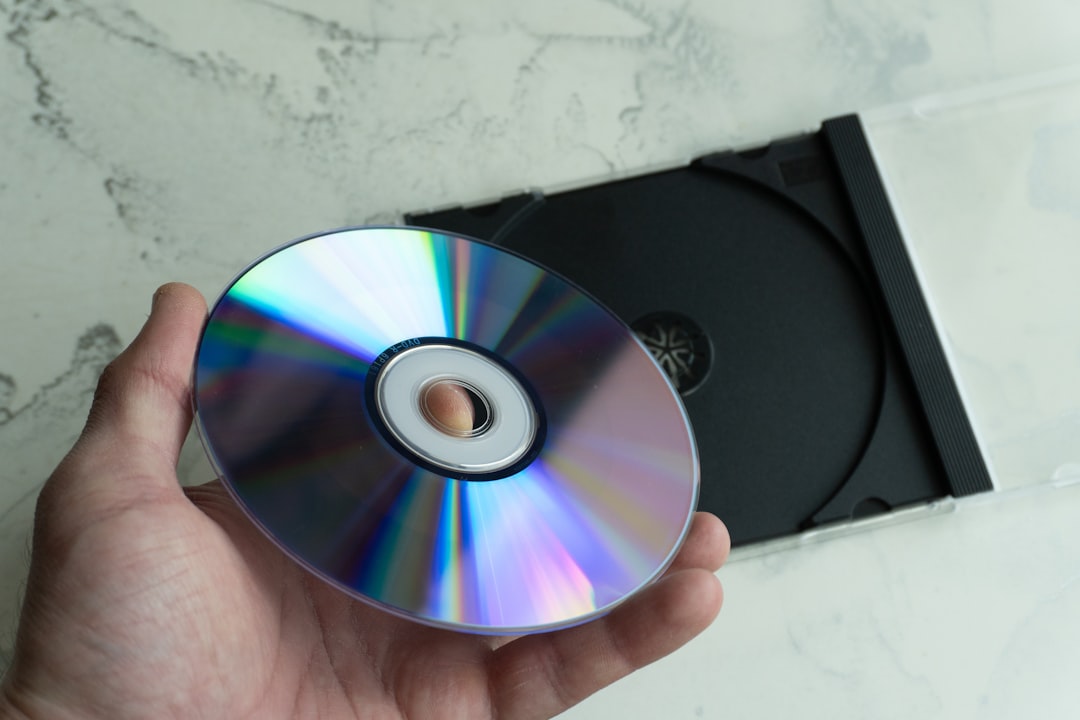
A DVD has a label side and a shiny readable side. The shiny side is where the player’s laser reads data through clear plastic. Dust, fingerprints, peanut butter, soda spray, and mystery smudges can scatter the laser and cause playback errors.
The label side also matters. If it is gouged deeply, the data layer may be damaged. That type of damage is harder to fix. A scuffed shiny side is often less serious than a scratched label side, even though it looks worse.
The Safest Basic Cleaning Method
Start with the gentlest method. Do not jump straight to alcohol or cleaners. The goal is to remove contamination, not polish the disc into submission.
- Hold the DVD by the edges. Put one finger through the center hole if needed.
- Blow off loose dust. Use a lens blower or a gentle puff of air.
- Wipe from the center outward. Use a dry microfiber cloth.
- Use straight strokes only. Move like spokes on a wheel, not around the wheel.
- Check the surface under light. Tilt the disc to spot smears or lint.
Why straight strokes? Circular scratches can follow the same path the laser reads, which may cause longer playback errors. A straight scratch from center to edge is often easier for error correction to handle. That small detail matters.
How to Remove Fingerprints and Greasy Film
Fingerprints are the usual villains. Skin oil spreads thinly across the surface and can be hard to see. Yet a DVD player may still choke on it.
For oily marks, do this:
- Mix a cup of distilled water with one small drop of mild dish soap.
- Dampen part of a microfiber cloth. It should be damp, not dripping.
- Wipe from the center hole to the outer edge.
- Use a second cloth dampened with plain distilled water to remove soap residue.
- Dry with a clean microfiber cloth using the same center-to-edge motion.
Do not soak the disc. Do not run water into a cracked center ring or under a peeling label. If the DVD is already damaged, moisture can make things worse.
How to Clean Sticky Residue
Rental stickers, price labels, and old storage sleeves can leave sticky patches. It drives me crazy that one tiny glue spot can turn a perfectly good disc into a skipping mess. Go slow here.
First, try distilled water. Let a damp microfiber cloth rest on the sticky spot for 20 to 30 seconds. Then wipe outward gently. If that fails, use a small amount of isopropyl alcohol on the cloth, not on the disc. Wipe the residue briefly, then clean again with distilled water and dry.
Do not scrape sticker glue with a fingernail, knife, coin, or card. Scraping often turns a cleaning job into a scratch repair job.
What Not to Do When Cleaning DVDs
Many damaged discs get that way during “cleaning.” The wrong method can add scratches, streaks, or chemical haze.
- Do not wipe in circles. It can create tracking problems.
- Do not use paper products. Paper towels feel soft, but they can scratch plastic.
- Do not spray cleaner directly onto the disc. Liquid can pool near the center or edge.
- Do not use toothpaste for routine cleaning. It is abrasive and risky.
- Do not use heat to dry a DVD. Hair dryers can warp plastic.
- Do not stack wet discs. They can stick together or trap grit.
Also skip household glass cleaners. Some contain ammonia or additives that leave films. A DVD needs clean plastic, not a shiny chemical coating.
What If the DVD Still Skips?
If the disc still freezes after cleaning, inspect it under a bright light. Look for deep scratches, cloudy patches, pinholes in the label, cracks near the center, or warped plastic. Small surface scratches may be repairable. Cracks and label-side data damage usually are not.
Try the disc in another player. Some players read damaged discs better than others. A computer drive may copy the readable data even when a living room player gives up. Expect to waste time on older drives, though. Some take 15 to 30 seconds longer to retry bad sections, then still fail at the same scene.
If the DVD is rare or valuable, consider a professional resurfacing machine at a media shop, library, or game store. These machines remove a very thin plastic layer and smooth out surface scratches. They cannot replace missing data. They also should not be used too often, because each pass removes material.
How to Handle DVDs So They Stay Clean
Good habits prevent repeat cleaning. Most grime gets on discs during handling, not storage.
- Hold DVDs by the outer edge and center hole.
- Return each disc to its case right after use.
- Keep discs away from food, drinks, and smoke.
- Store cases upright, like books, in a cool dry place.
- Avoid leaving discs in cars, near windows, or beside heaters.
Cheap sleeves can also cause trouble. Some plastic sleeves leave marks over time, especially in heat. Original cases are usually safer because they hold the disc by the center hub and keep the readable surface lifted away from plastic.

Can You Wash a DVD Under the Sink?
You can rinse a DVD, but it is not the first choice. If you do, use lukewarm water with low pressure. Hold the disc by the edges. Rinse from the center outward and dry right away with microfiber. Avoid hot water, strong streams, and soaking.
Tap water may leave mineral spots. That is why distilled water is better for final cleaning. If you must use tap water, follow with a distilled water wipe before drying.
Quick Troubleshooting Guide
- Dust only: Use air and a dry microfiber cloth.
- Fingerprints: Use distilled water, then dry.
- Grease: Use diluted mild dish soap, rinse with distilled water, dry.
- Sticker glue: Try water first, then limited isopropyl alcohol.
- Light scratches: Clean first, then consider professional resurfacing.
- Cracks or label damage: Stop using the disc to avoid shattering in a drive.
The safest DVD cleaning rule is simple: use the least aggressive method that works. Start dry, add distilled water if needed, use mild soap for grease, and save alcohol for stubborn residue. Wipe straight outward every time. With that routine, you can fix many playback problems without turning a smudge into permanent damage.