")


")
Creating a custom map for your Rust server is one of the most powerful ways to shape the player experience. Instead of relying on randomly generated worlds, you can design unique landscapes, control monument placement, balance resources, and create themed environments that keep players coming back. Whether you want a competitive PvP arena, a roleplay-focused island, or a hardcore survival map with limited loot, building your own Rust map gives you complete creative freedom.
TL;DR: To make a custom Rust map, you need tools like RustEdit or similar map editors, a clear design plan, and a properly configured server. Start by designing terrain, then add monuments, loot spawns, roads, and custom prefabs. Test your map thoroughly for performance and balance before publishing it to your server. With careful planning and iteration, you can create a polished, unique world that enhances player retention.
Why Create a Custom Rust Map?
Procedural maps are convenient, but they are unpredictable. A custom map allows you to:
- Control gameplay balance by adjusting monument density and loot distribution
- Create custom PvP zones or safe havens
- Design themed environments like desert wastelands, arctic survival, or jungle islands
- Optimize performance by reducing unnecessary terrain complexity
- Differentiate your server in a competitive Rust server listing
In short, a custom map makes your server stand out and gives players a tailored experience they can’t find elsewhere.
Step 1: Plan Your Map Concept
Before opening any editing software, start with a clear plan. Ask yourself:
- What is the map size? (Small for fast PvP or large for long-term survival?)
- How many monuments will it have?
- Will it favor solos, duos, or large clans?
- Do you want land-only, island-based, or mixed terrain?
Sketch a rough layout of your map. Identify spawn beaches, high-tier loot areas, and natural chokepoints. Good planning prevents overcrowded monuments and awkward terrain transitions later.
Pro Tip: Always consider player flow—where players spawn, gather resources, and move toward higher-tier areas.
Step 2: Choose Your Map Editing Tools
To create a custom Rust map, you’ll need specialized software. Below is a comparison of the most popular tools used by Rust server owners:
| Tool | Main Use | Skill Level | Best For |
|---|---|---|---|
| RustEdit | Full map editing and terrain sculpting | Intermediate to Advanced | Complete custom maps with monuments |
| Rust Map Generator | Procedural map customization | Beginner | Quick adjustments to generated maps |
| Custom Prefab Editors | Create standalone structures | Intermediate | Custom monuments and arenas |
For most server owners, RustEdit is the preferred solution because it allows complete control over terrain, prefabs, loot spawns, and road systems.
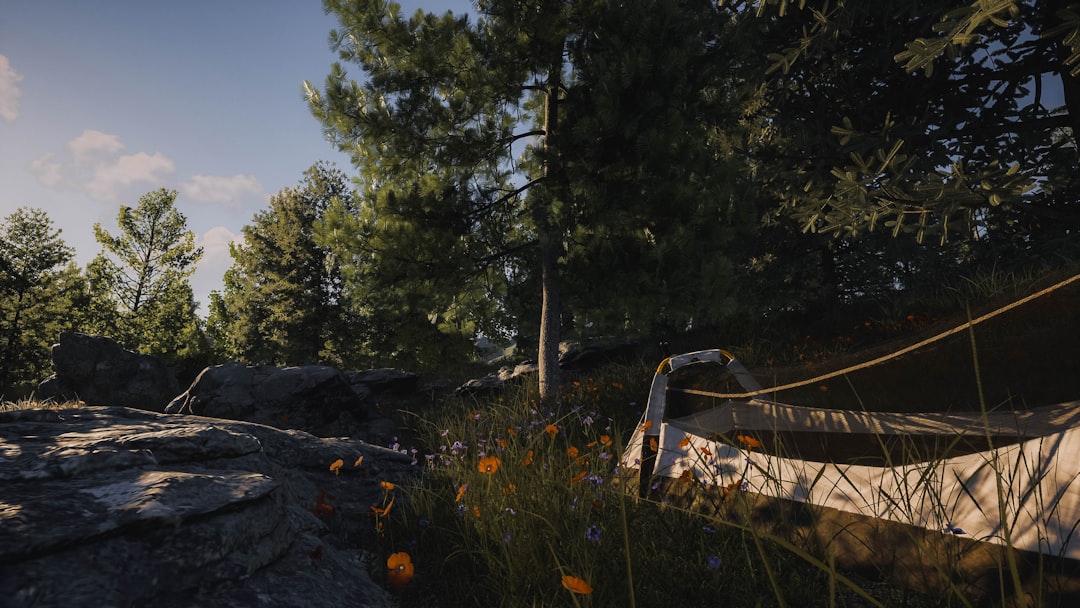
Image not found in postmetaStep 3: Create and Sculpt Terrain
Start your project by selecting your map size. Common sizes include:
- 3000–3500 = Compact PvP maps
- 4000 = Balanced survival maps
- 4500+ = Large clan-heavy maps
Use terrain sculpting tools to:
- Raise mountains for snow biomes
- Create valleys and river systems
- Carve beaches and cliffs
- Smooth uneven surfaces
Keep terrain practical. Extremely steep or jagged areas can cause building restrictions or awkward player movement.
Balance tip: High-tier monuments should not always dominate the highest peak. Spread height variation naturally.
Step 4: Add Monuments Strategically
Monuments define Rust’s progression. When placing them, consider map balance and server population.
Typical Monument Distribution:
- 1–2 High-tier (Launch Site, Military Tunnels)
- 2–4 Mid-tier (Water Treatment, Train Yard)
- Several Low-tier (Supermarket, Gas Station)
Avoid clustering all high-value monuments near the center unless you want high-intensity conflict. Spread them out to encourage exploration.
You can also import custom prefabs, such as:
- PvP arenas
- Custom oil rigs
- Admin event zones
- Roleplay towns
Ensure monuments have proper radiation zones, recyclers, loot containers, and spawns configured.
Step 5: Design Roads, Railways, and Rivers
Road placement greatly impacts player mobility. A good map has a natural flow:
- Main highways connecting major monuments
- Secondary roads leading to smaller points of interest
- Railway networks for underground travel
- Rivers separating biomes
Overlapping roads or poorly aligned networks can look unnatural and confuse players. Think about realistic infrastructure layout and use curves sparingly for smoother results.
Step 6: Configure Resource and Loot Distribution
Balancing resources is crucial for server health. Too many nodes near spawn beaches can make progression too easy. Too few can frustrate players.
Adjust:
- Ore node spawn density
- Tree placement
- Animal spawn regions
- Barrel and crate spawn rates
If you’re running a 2x or 5x server, account for resource rate multipliers when balancing node density.
Common Mistake: Forgetting to test loot tables after monument customization.
Step 7: Add Spawn Points and Safe Zones
Proper spawning impacts first impressions. Distribute spawn points evenly along beaches. Avoid spawning players near high-tier monuments or in radiation zones.
If your server includes custom safe zones:
- Ensure turrets function correctly
- Disable PvP in designated areas
- Prevent building exploits
New player experience directly affects retention.
Step 8: Optimize for Performance
Performance can make or break your custom map. Large custom builds and excessive objects increase server load.
Optimization tips:
- Limit unnecessary decorative prefabs
- Reduce excessive foliage layers
- Avoid stacking monuments too closely
- Test FPS across multiple hardware setups
After exporting your map file (.map), run it on a test server and monitor CPU and RAM usage.
Step 9: Upload and Configure Your Server
Once your map is complete:
- Upload the map file to your server via FTP.
- Update your server configuration to reference the custom map.
- Restart the server.
Confirm the map loads properly by joining and testing monument placement, loot, and terrain alignment.
You may also need to clear old procedural save data to avoid conflicts.
Step 10: Test, Gather Feedback, and Iterate
No custom map is perfect on its first version. Invite trusted players or moderators to test the map before launch.
Ask for feedback about:
- Monument balance
- Travel distance between points of interest
- Resource fairness
- Server performance
Use this feedback to fine-tune terrain, reposition monuments, or adjust spawns. Versioning your map (e.g., v1.1, v1.2) helps manage updates cleanly.
Common Beginner Mistakes
- Overcrowding the center of the map with all major monuments
- Ignoring biome transitions, resulting in unnatural edges
- Forgetting optimization, causing FPS drops
- Unbalanced loot that speeds up progression too quickly
- Skipping playtesting before launch
Avoiding these pitfalls will dramatically increase your map’s quality.
Advanced Ideas for Unique Servers
Once you master the basics, consider experimenting with:
- Floating monuments
- Underground PvP arenas
- Hardcore low-resource maps
- Maze-style terrain for ambush-heavy gameplay
- Seasonal themes like winter-only survival
Unique ideas can give your server a strong identity and loyal community.
Final Thoughts
Making a custom map for a Rust server requires creativity, planning, and technical knowledge—but the payoff is worth it. A well-designed custom world shapes player behavior, enhances competition, and builds your server’s reputation. By carefully sculpting terrain, strategically placing monuments, balancing resources, and optimizing performance, you can create a professional-grade experience that rivals official maps.
Start small, test often, and keep refining. With practice, your custom maps won’t just host players—they’ll define your server’s identity.


)