


Use a lawful source file, extract the audio with a trusted converter, choose the format based on purpose, then name and store the result consistently. That is the safest way to turn YouTube video content into usable audio without losing time, quality, or track of your files.
TLDR: If you own the video, have permission, or are working with licensed material, download the source and convert it to MP3 for general listening, M4A or AAC for efficient quality, or WAV for editing. For example, a 60 minute lecture saved as 128 kbps MP3 may be about 55 MB, while the original video could be several hundred megabytes. A student converting 12 weekly lectures can cut storage use by more than 80% and make review easier on a phone.
Start With Rights and Source Quality
Before extracting audio from YouTube video content, confirm that you have the right to do it. Use your own uploaded videos, public domain material, Creative Commons content that allows reuse, or files where you have written permission. Do not remove protection, repost copyrighted audio, or build a library from material you are not allowed to copy.
The original video quality also matters. If the upload has poor speech, background noise, or distorted music, converting it will not magically fix it. Audio extraction can preserve what is there. It cannot rebuild missing detail.
The catch is that many “free” online converters are packed with popups, fake buttons, and slow queues. A task that should take 30 seconds can turn into three minutes of closing tabs. For serious work, use a reputable desktop audio editor, a media converter from a known developer, or the original video file from YouTube Studio if it is your own upload.
Basic Workflow: From Video to Audio
The extraction process is simple when broken into steps:
- Confirm permission. Make sure the content can be saved and converted.
- Get the best available source. Use your original upload file when possible.
- Open the file in a trusted converter. Avoid unknown browser tools that request extra permissions.
- Select the output format. Match the format to your goal.
- Set quality options. Choose bitrate, sample rate, and channels.
- Export and verify. Listen to the first minute, middle section, and ending.
- Name, tag, and file it. Good organization saves more time than people expect.
If you are extracting audio from a video you made, the cleanest method is often to use the original project export, not the compressed YouTube copy. YouTube applies its own compression after upload. That is fine for streaming, but not ideal if you plan to edit, archive, or publish audio elsewhere.
Choose the Right Audio Format
Format choice depends on how the audio will be used. There is no single best option for every case.
- MP3: Best for broad compatibility. Works on phones, cars, old players, and most websites. Good for lectures, interviews, voice notes, and casual music listening.
- M4A or AAC: Strong quality at smaller file sizes. Good for mobile libraries and podcast style audio.
- WAV: Uncompressed and large. Best for editing, mastering, transcription cleanup, and professional workflows.
- FLAC: Lossless compression. Smaller than WAV, but still high quality. Good for archiving music or important recordings.
- Opus: Efficient at low bitrates. Useful for speech and web delivery, though not every older device supports it.
For most people, MP3 at 128 to 192 kbps is enough for speech. For music, use 256 or 320 kbps MP3, or choose AAC around 192 to 256 kbps. For editing, export to WAV at 48 kHz if the video source uses standard video audio settings.
Manage Quality Without Wasting Space
Audio quality is shaped by bitrate, sample rate, channels, and the quality of the source. Higher settings increase file size. They do not always improve real sound. If the YouTube video already has compressed audio, exporting it again at an extreme bitrate can create a large file with no real gain.
Use these practical settings:
- Speech, lectures, interviews: MP3, 128 kbps, mono or stereo, 44.1 kHz or 48 kHz.
- Podcasts and training audio: MP3 or AAC, 160 to 192 kbps, stereo if needed.
- Music listening: AAC 256 kbps or MP3 320 kbps.
- Editing and cleanup: WAV, 24 bit if available, 48 kHz.
- Long archives: FLAC for quality, MP3 for smaller size.
Honestly, it feels like some converters hide the quality settings on purpose. If a tool only offers “high,” “medium,” and “low,” be cautious. Serious tools show bitrate, codec, sample rate, and channel settings clearly.
Clean Up the Audio After Extraction
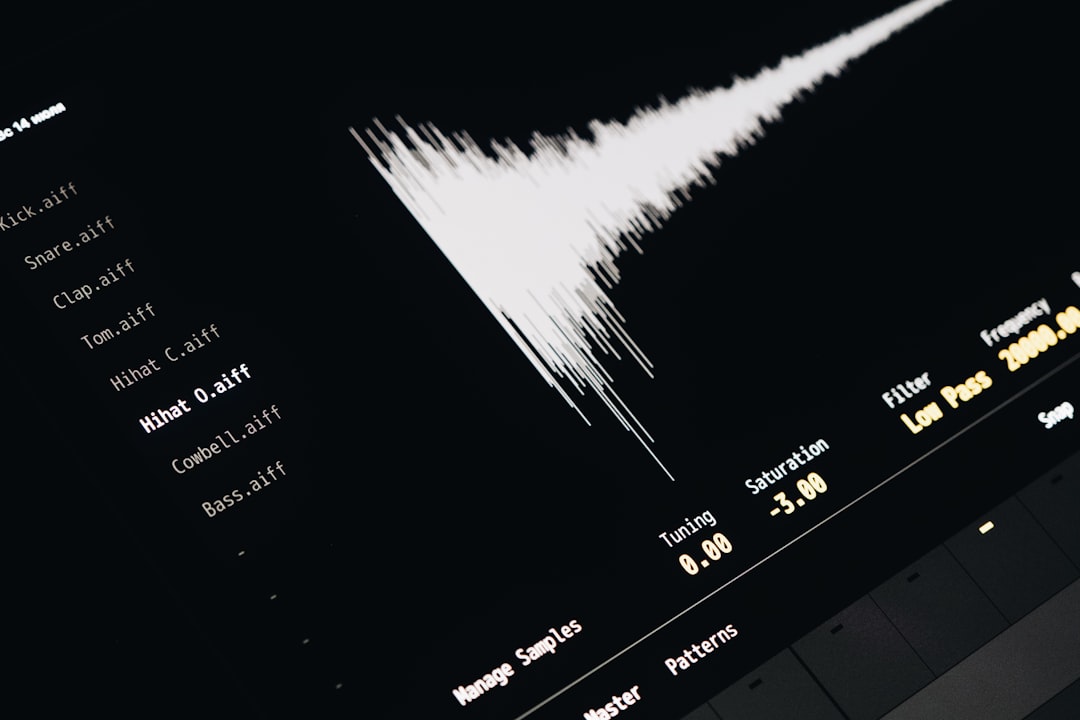
Extraction is only the first step. Many YouTube videos include intros, outros, silence, background hum, or volume jumps. Simple cleanup can make the audio easier to use.
- Trim silence at the beginning and end.
- Normalize volume so the file plays at a steady level.
- Reduce noise if there is fan hum, hiss, or room tone.
- Split long files into chapters or sections.
- Add fades to avoid harsh starts and stops.
Do not overprocess. Heavy noise reduction can make speech sound watery or robotic. A light cleanup is usually better than an aggressive one.
Organize Converted Files Properly
Poor file organization becomes painful fast. Ten audio files are easy to manage. Two hundred are not. Use a folder and naming system from the start.
A reliable structure looks like this:
- Folder: Audio Library / Source Name / Year / Project
- Filename: YYYY MM DD creator title version format
- Example: 2026 02 14 training safety briefing v1 mp3
Add metadata where possible. Include title, speaker, date, source, permission notes, and topic. This helps with search, editing, and compliance. If you use transcription software, store the transcript beside the audio file with the same base name.
For business use, keep a simple rights record. A spreadsheet with file name, source URL, owner, license, date saved, and allowed use is enough for many teams. It may seem boring. It prevents confusion later.

Security and Privacy Checks
Be careful with online converters. Some collect uploaded files, inject ads, or push unwanted extensions. Never upload private company videos, client recordings, medical content, or classroom recordings with student information to an unknown website.
For sensitive material, use offline software. Keep the file on your machine. Delete temporary files after export. If several people need access, use approved cloud storage with permissions rather than sending audio files through casual chat apps.
Best Practices for Reliable Results
- Work from the original file when you can.
- Pick MP3 for access and WAV for editing.
- Avoid repeated conversions. Each lossy export can reduce quality.
- Keep one master file and create smaller copies from it.
- Use clear names before the folder gets messy.
- Back up important audio in at least two places.
Extracting audio from YouTube video content is not hard. Doing it well requires restraint. Use legal sources, choose sensible settings, check the output, and keep your files organized. That gives you audio that is smaller, easier to search, easier to edit, and far less annoying to manage later.