


Upgrade PHP only after you back up WordPress, test the site on staging, and confirm your theme and plugins support the target PHP version. Done right, a PHP upgrade can make WordPress noticeably faster, more secure, and cheaper to run. Done casually, it can break checkout pages, contact forms, or the whole admin area.
TLDR: Check your current PHP version, create a full backup, test the upgrade on a staging copy, then switch PHP in your hosting panel. For example, a small WooCommerce site moving from PHP 7.4 to PHP 8.2 may cut server response time from 850 ms to 520 ms, a drop of about 39%. One agency site I saw had 14 outdated plugins; after replacing 3 of them and upgrading PHP, page generation time fell by more than half. Never upgrade PHP on a live site without a rollback plan.
Why PHP matters for WordPress performance
WordPress runs on PHP. Every page load, plugin action, theme template, search request, and checkout step depends on it. When PHP is old, the site often works harder than it should. That means slower pages, more server strain, and more chances for errors.
Newer PHP versions process requests faster. They also receive security fixes and better memory handling. If your site still runs PHP 7.4 or older, you are likely leaving speed on the table. Worse, unsupported PHP versions no longer get regular security patches.
The catch is that WordPress itself may support newer PHP, but your plugins might not. One abandoned slider plugin can ruin the whole upgrade. It drives me crazy that some plugins still do not show obvious compatibility warnings until they fail during testing.
Step 1: Check your current PHP version
Start by finding out what your site uses now. In WordPress, go to Tools > Site Health > Info > Server. Look for PHP version. You can also check your hosting control panel, such as cPanel, Plesk, SiteGround Tools, Kinsta dashboard, WP Engine portal, or Cloudways panel.
If you see PHP 8.1, 8.2, or 8.3, you are in decent shape. If you see PHP 7.4, 7.3, or anything older, plan an upgrade soon. For many sites, PHP 8.2 is a solid target because it is modern and widely supported.
Do not jump to the newest version just because it exists. PHP 8.3 may be fine for many setups, but some plugins lag behind. A stable upgrade beats a flashy one.
Step 2: Update WordPress, themes, and plugins first
Before changing PHP, update the software that depends on it. Start with WordPress core. Then update your active theme. After that, update plugins one by one.
- Update WordPress core to the latest stable release.
- Update your active theme, especially if it controls page builders or WooCommerce templates.
- Update plugins, starting with security, caching, forms, SEO, and ecommerce tools.
- Remove unused plugins. Disabled does not always mean harmless.
- Replace abandoned plugins if they have not been updated in a year or more.
Expect to waste time on old plugins. Some have no clear changelog. Some claim compatibility but throw warnings anyway. Still, this cleanup is worth it. Fewer moving parts make the PHP upgrade safer and often speed up WordPress before PHP even changes.
Step 3: Create a full backup
A safe PHP upgrade needs a full backup. Not just files. Not just the database. You need both.
Your backup should include:
- WordPress files, including themes, plugins, and uploads.
- The database, including posts, pages, orders, settings, and users.
- Configuration files, such as wp-config.php and .htaccess.
- A restore method you know how to use.
Many hosts provide one-click backups. Backup plugins can also help. Test the restore process if the site is business-critical. A backup that cannot be restored is just a comforting lie.
Step 4: Use staging, not the live site
A staging site is a private copy of your website. It lets you test changes before visitors see them. This is the safest place to upgrade PHP first.
Most quality hosts offer staging tools. If yours does, create a fresh copy of the live site. Then switch PHP on staging only. After the switch, test everything that matters.
Focus on revenue and lead paths first. Pretty pages can wait. Broken payments cannot.
- Open the homepage and top landing pages.
- Submit contact forms.
- Test login and user registration.
- Run a test checkout if you use WooCommerce.
- Check search, filters, sliders, popups, and booking forms.
- Review the WordPress admin area for warnings.
Turn on debugging only during testing. In wp-config.php, you can use WP_DEBUG and WP_DEBUG_LOG. Avoid showing errors to visitors on the live site. Logs are useful. Public error messages are not.
Step 5: Check plugin and theme compatibility
Compatibility problems often show up as fatal errors, blank pages, broken widgets, or strange admin notices. Some are obvious. Others are sneaky.
Use the following checks before upgrading live PHP:
- Read plugin changelogs for PHP 8.x support.
- Check support forums for recent error reports.
- Review your theme documentation.
- Scan the PHP error log after testing staging pages.
- Deactivate suspicious plugins and retest if needed.
If a plugin breaks under PHP 8.2, do not ignore it. Find an update, replace the plugin, or ask the developer for a fix. If it is a mission-critical plugin, wait until you have a safe path forward.
Step 6: Upgrade PHP in your hosting panel
Once staging looks good, schedule the live upgrade during a quiet traffic period. For shops, avoid peak buying hours. For content sites, avoid newsletter send times or ad campaign launches.
The process varies by host, but the general flow is simple:
- Log in to your hosting account.
- Open the PHP version manager or site settings panel.
- Select the target PHP version, such as PHP 8.2.
- Apply the change.
- Clear all caches.
- Test the live site immediately.
Some hosts apply the change in seconds. Others take a few minutes. If the site fails, switch back to the previous PHP version and inspect the logs. This is why you checked the rollback option before touching anything.
Step 7: Clear cache and test performance
After the upgrade, clear every cache layer. That may include your WordPress caching plugin, object cache, CDN cache, server cache, and browser cache. Old cached files can hide problems or make testing unreliable.
Then measure performance. Use tools like PageSpeed Insights, GTmetrix, WebPageTest, or your host’s application monitoring. Compare results from before and after the switch.
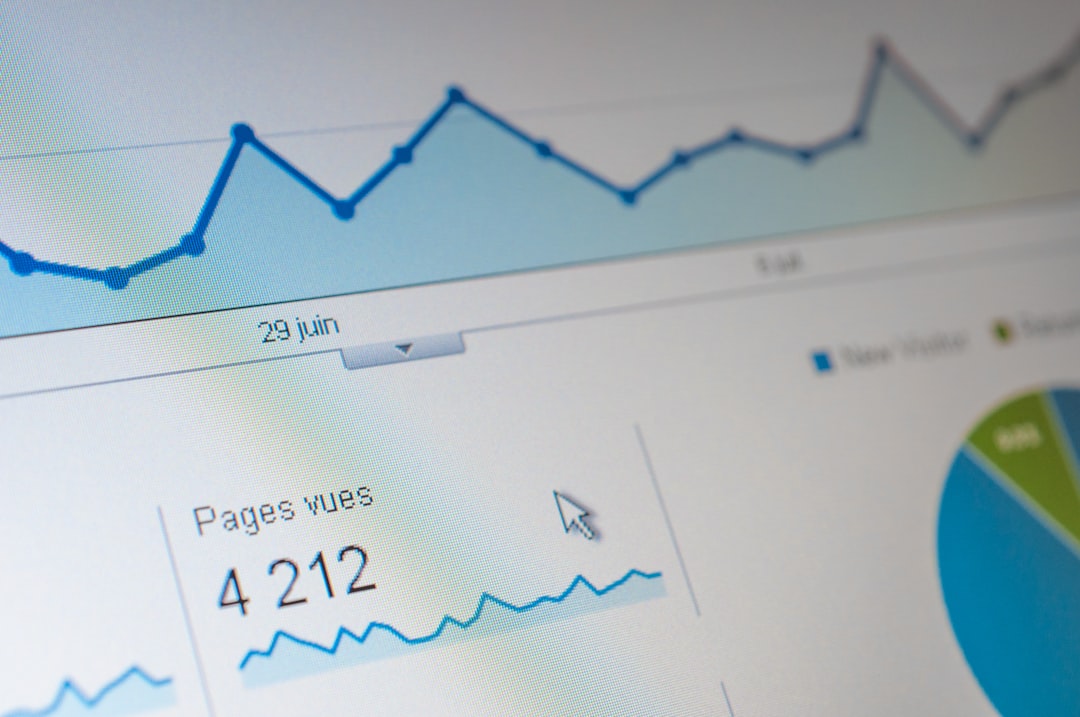
Watch these numbers:
- Server response time, often shown as TTFB.
- Page generation time, gathered from monitoring tools.
- Memory usage, especially on plugin-heavy sites.
- Error count in PHP logs.
- Checkout or form completion rates after the change.
You may see a modest gain or a big one. A clean blog might improve by 10% to 20%. A heavy membership or WooCommerce site may improve much more, especially if it was stuck on an old PHP branch.
Common problems after a PHP upgrade
A blank screen usually means a fatal PHP error. Check the error log. The message often names the file and plugin causing the issue.
Broken layouts may point to a theme issue, page builder conflict, or cached CSS. Clear caches first. Then update or regenerate builder assets if your tool offers that option.
Admin warnings can come from deprecated functions. These are not always fatal, but they should not be ignored. Too many warnings can clutter logs and hint at future failures.
WooCommerce errors need fast attention. Test cart, checkout, payment gateway callbacks, tax rules, shipping rates, order emails, and refund flows. A product page that loads fast means little if payments fail.
Best PHP upgrade schedule for WordPress
Review PHP once or twice a year. Pair it with a maintenance routine. That keeps upgrades small and less stressful.
- Monthly: Update plugins and themes.
- Quarterly: Remove unused tools and check error logs.
- Twice yearly: Review PHP version and hosting settings.
- Before major upgrades: Create staging, back up, and test key flows.
A safe PHP upgrade is not just a technical chore. It is basic site care. Faster PHP helps pages load sooner, reduces server load, and cuts security risk. The best part is simple: once your WordPress setup is clean and tested, the actual PHP switch often takes less than five minutes.