




Every project starts with a spark. A new website. A product launch. A kitchen remodel. A company event. At first, it feels exciting. Then someone asks, “When will it be done?” That is when you need a project implementation timeline.
TLDR: A project implementation timeline shows what needs to happen, when it should happen, and who is responsible. It helps your team stay calm, focused, and on schedule. Build it by breaking the project into phases, setting deadlines, tracking progress, and adjusting when life throws bananas at your plan.
What Is a Project Implementation Timeline?
A project implementation timeline is a simple plan with dates. It maps the journey from idea to done. Think of it like a road trip map. You know the start. You know the destination. You also mark the stops in between.
Without a timeline, projects can become messy. Tasks are forgotten. People get confused. Deadlines sneak up like ninjas. A timeline keeps everyone looking in the same direction.
It answers three big questions:
- What needs to be done?
- Who will do it?
- When should it be finished?
Simple questions. Big results.
Why Timelines Matter
A good timeline is not just pretty boxes on a chart. It is a tool for action. It tells the team what comes next. It helps leaders spot trouble early. It keeps clients, managers, and teammates informed.
Here is what a strong implementation timeline can do:
- Reduce confusion: Everyone knows the plan.
- Improve teamwork: Tasks connect like puzzle pieces.
- Protect deadlines: You can see delays before they grow.
- Manage resources: People, money, and tools are used wisely.
- Build trust: Updates are clearer and less dramatic.
Great timelines do not remove every problem. Sadly, they cannot stop coffee spills or surprise sick days. But they help your team react faster and smarter.
Step 1: Define the Project Goal
Before you build a timeline, name the finish line. Be clear. Be specific. “Improve the website” is too fuzzy. “Launch a new five page website by June 30” is much better.
Your goal should explain the final result. It should also explain success. What will be delivered? Who will use it? How will you know it worked?
Try this simple sentence:
By [date], we will deliver [result] for [audience], so they can [benefit].
For example:
By September 1, we will launch a customer help center for users, so they can find answers faster.
Now your project has a target. Nice. The timeline can begin.
Step 2: Break the Work Into Phases
Big projects feel scary. Small chunks feel friendly. So break your project into phases. Each phase should have a purpose.
Common project phases include:
- Discovery: Learn what is needed.
- Planning: Choose the approach and schedule.
- Design: Create drafts, layouts, or models.
- Build: Make the actual thing.
- Test: Check for errors and weak spots.
- Launch: Release the final project.
- Review: Measure results and learn lessons.
Not every project needs every phase. A small social media campaign may not need a long discovery stage. A hospital software project definitely does. Use common sense. It is free and very useful.
Step 3: List the Tasks
Now get detailed. Write down every task needed in each phase. Do not trust your brain to remember everything. Your brain is wonderful, but it also forgets why it walked into the kitchen.
For a website project, tasks might include:
- Gather brand assets.
- Write page content.
- Create wireframes.
- Design page layouts.
- Build the site.
- Test on mobile devices.
- Fix bugs.
- Publish the site.
Keep tasks clear and action based. Start with verbs. Use words like write, review, approve, build, test, and launch.
Step 4: Put Tasks in the Right Order
Some tasks depend on others. You cannot test a product before it is built. You cannot print event flyers before the design is approved. Well, you can, but chaos will clap loudly.
Look for dependencies. These are task relationships. One task must happen before another can begin.
Ask these questions:
- What must happen first?
- What can happen at the same time?
- What task could block other tasks?
- Who needs to approve each step?
This step prevents traffic jams. It also helps you spot risky areas. If one task controls five others, watch it closely.
Step 5: Estimate Time Honestly
This is where many timelines go wobbly. People guess too fast. They say, “That should take one day.” Then it takes six. And possibly a sandwich break.
Use real information when possible. Look at past projects. Ask the person doing the work. Add buffer time. A buffer is extra space for delays. It is not laziness. It is wisdom wearing comfy shoes.
For each task, estimate:
- Best case: If everything goes smoothly.
- Most likely: A realistic middle estimate.
- Worst case: If problems appear.
Then choose a timeline that feels honest. Not magical. Not gloomy. Honest.
Step 6: Assign Owners
Every task needs an owner. Not a vague group. Not “the team.” A real person. When everyone owns a task, no one owns it.
A task owner is responsible for moving the work forward. They may not do every part alone. But they make sure it gets done.
Use a simple format:
- Task: Write homepage copy.
- Owner: Maya.
- Due date: May 8.
- Status: In progress.
This makes accountability clear. It also makes updates much easier.
Step 7: Choose a Timeline Format
Your timeline can be simple or fancy. The best format is the one your team will actually use. A perfect tool that nobody opens is just digital furniture.
Common formats include:
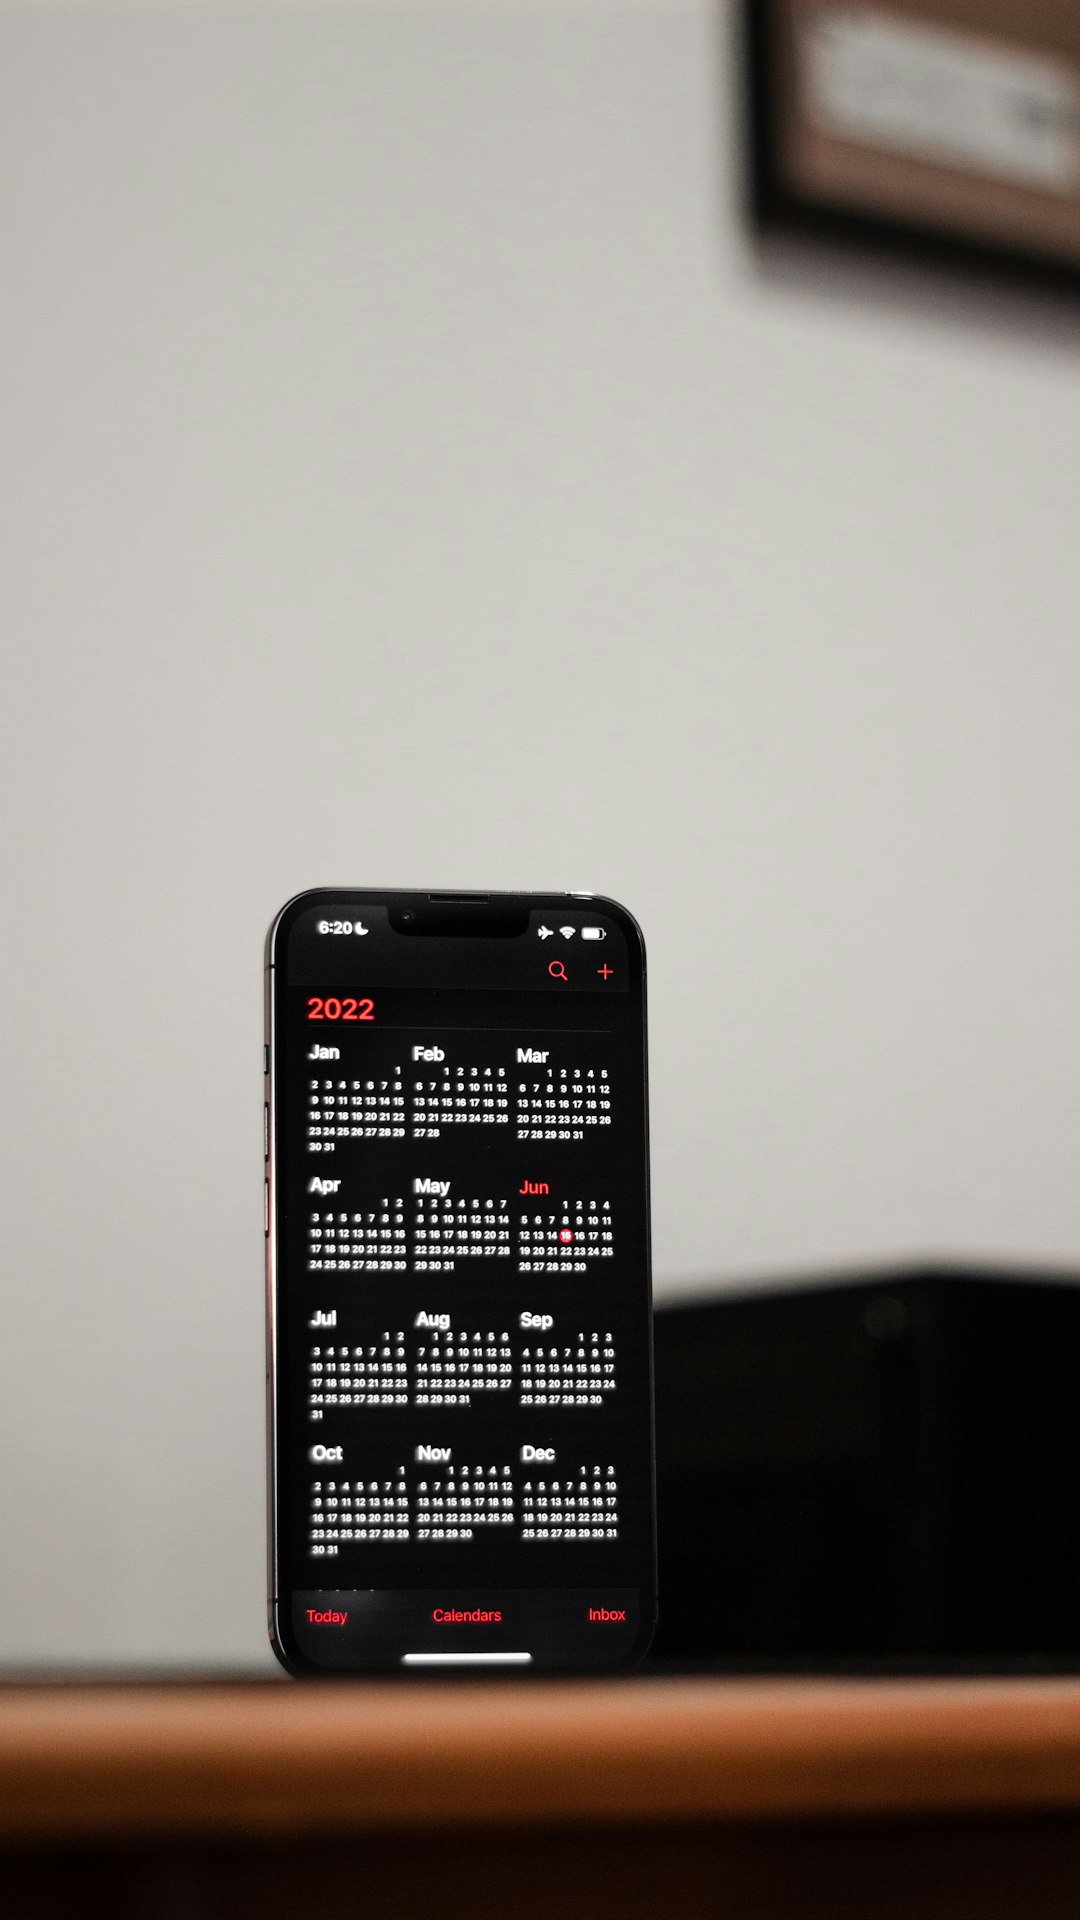
- Calendar: Great for deadline heavy work.
- Gantt chart: Great for phases and dependencies.
- Kanban board: Great for tracking task status.
- Spreadsheet: Great for simple teams and budgets.
Use labels like Not Started, In Progress, Blocked, and Done. These labels make progress easy to understand at a glance.

Step 8: Track Progress Often
A timeline is not a statue. It is alive. It needs updates. Check progress often, especially on long projects.
Hold short project check ins. Keep them focused. Nobody wants a meeting that grows tentacles.
Ask each task owner:
- What is done?
- What is next?
- What is blocked?
- Do any dates need to change?
Update the timeline right away. Do not wait until Friday if the project caught fire on Tuesday.
Step 9: Manage Changes Without Panic
Projects change. Clients add requests. Costs shift. A key person goes on vacation. A tiny task becomes a dragon.
Do not panic. Use a change process. When a change appears, ask:
- Does this affect the deadline?
- Does this affect the budget?
- Does this affect quality?
- Who must approve it?
If the change matters, update the timeline. Tell the right people. Be clear and calm. Surprises are fun at birthday parties. They are less fun in project delivery.
Step 10: Deliver and Review
Delivery is the big moment. The launch. The handoff. The confetti. Before you celebrate, confirm the project meets the goal. Check the requirements. Test the final result. Get approvals in writing.
Then hold a short review. This is not about blame. It is about learning.
Ask:
- What went well?
- What slowed us down?
- What should we do differently next time?
- Were our time estimates accurate?
Save these lessons. Future you will be grateful. Future you may even smile.
Final Thoughts
A strong project implementation timeline turns a big messy idea into a clear path. It shows the work, the order, the owners, and the deadlines. It also gives your team a shared brain, which is very handy.
Keep it simple. Keep it updated. Keep it honest. When your timeline is clear, your project has a much better chance of arriving on time, on budget, and with fewer dramatic sighs.