


Estimating a print job can feel like guessing the weight of a hippo in a foggy room. But it does not have to be scary. A good print job estimate is just a list of costs, added in the right order. Once you know the pieces, the math gets simple.
TLDR: A print job estimate tells you how much a printed project should cost before the work begins. You need to count paper, ink, labor, machine time, finishing, waste, delivery, and profit. The best estimate is clear, detailed, and based on real numbers. Add a little buffer, because printing loves surprises.
What Is a Print Job Estimate?
A print job estimate is a cost prediction for a printing project. It can be for flyers, business cards, posters, books, labels, menus, banners, or packaging.
Think of it like a recipe. You need ingredients. You need tools. You need time. You also need someone who knows how not to burn the soup.
In printing, the “soup” is your final product. The “ingredients” are paper, ink, plates, toner, glue, staples, boxes, and more.
A good estimate answers one big question:
“How much will this cost, and why?”
Start With the Job Details
Before you calculate costs, collect the basic facts. Do not skip this step. It is the map for the whole trip.
- Product type: Is it a flyer, book, sticker, or poster?
- Quantity: How many pieces are needed?
- Size: What is the final trimmed size?
- Paper type: Is it thin, thick, glossy, matte, recycled, or textured?
- Color: Is it black only, full color, or special ink?
- Sides: Is printing on one side or both sides?
- Finishing: Does it need folding, cutting, binding, laminating, or drilling?
- Deadline: Is it normal speed or “panic mode” speed?
- Delivery: Will it be picked up, mailed, or shipped?
If any detail is missing, your estimate may wobble like a chair with three legs.
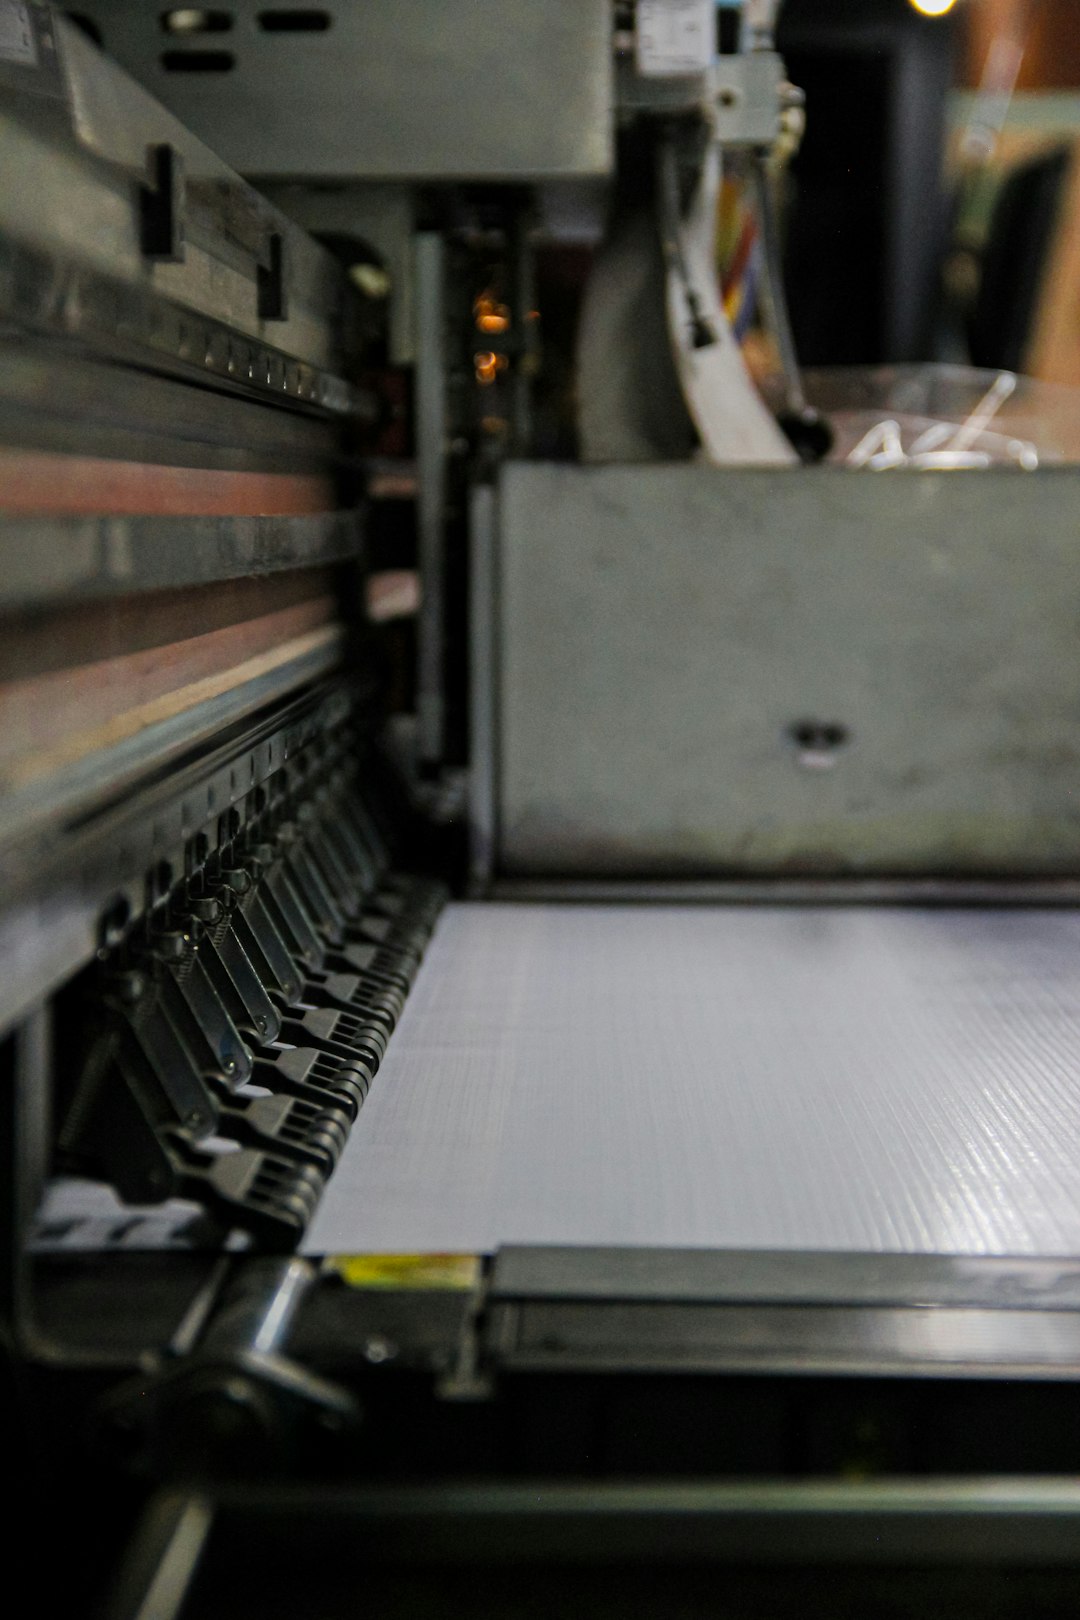
Step 1: Calculate Paper Cost
Paper is often one of the biggest costs. It is also easy to miscount.
Start with the number of final pieces. Then figure out how many pieces fit on one large sheet. This is called imposition. Fancy word. Simple idea.
For example, let’s say you need 1,000 flyers. Each flyer is 8.5 by 11 inches. You print them on large sheets that fit 2 flyers each.
That means:
- 1,000 flyers ÷ 2 per sheet = 500 sheets
But wait. Printers need extra sheets. Why? Because machines need setup sheets. Accidents happen. Color needs testing. Paper jams are rude.
This extra amount is called waste or spoilage.
A simple waste rule:
- Small digital job: Add 2% to 5%
- Offset job: Add 5% to 10%
- Complex job: Add 10% or more
So if you need 500 sheets and add 5% waste:
- 500 × 1.05 = 525 sheets
If paper costs $0.12 per sheet:
- 525 × $0.12 = $63.00 paper cost
Easy. The paper dragon has been tamed.
Step 2: Calculate Ink or Toner Cost
Ink cost depends on coverage. A page with a tiny logo uses little ink. A full-color photo of a jungle uses much more.
For digital printing, you may use a click charge. This is a cost per printed side. It often includes toner, machine wear, and service.
Example:
- 1,000 flyers
- Printed full color on one side
- Click charge is $0.08 per side
Ink or toner cost:
- 1,000 × $0.08 = $80.00
If it is printed on both sides:
- 1,000 × 2 × $0.08 = $160.00
For offset printing, ink may be calculated by ink weight, plate setup, and press run. That can get more technical. Still, the idea is the same. More ink and more colors cost more money.
Step 3: Add Setup Costs
Every print job needs setup. Even a simple job takes prep time.
Setup may include:
- Checking files
- Fixing bleed or margins
- Making proofs
- Loading paper
- Calibrating color
- Setting up machines
- Making plates for offset printing
Setup is like warming up before a race. The runner has not moved far yet, but work has started.
Let’s say prepress takes 30 minutes. The labor rate is $60 per hour.
- 0.5 hours × $60 = $30.00 prepress setup
If the press setup takes 45 minutes at $80 per hour:
- 0.75 hours × $80 = $60.00 press setup
Total setup:
- $30 + $60 = $90.00 setup cost
Step 4: Calculate Machine Time
Machines cost money to run. They use power. They wear down. They need repairs. They may also be very expensive to buy.
So the time spent printing must be part of the estimate.
Use this formula:
Machine cost = machine hourly rate × hours used
Example:
- The press runs at 3,000 sheets per hour
- You need 525 sheets
- The machine rate is $100 per hour
Time needed:
- 525 ÷ 3,000 = 0.175 hours
Machine cost:
- 0.175 × $100 = $17.50
Some shops set a minimum machine charge. That is normal. Starting a machine for a tiny job still takes effort.
Step 5: Add Labor Cost
Labor is not just “someone standing there.” It is skill. It is judgment. It is the human who notices that blue looks purple before 5,000 copies are wrong.
Labor can include:
- Customer service
- Design file checking
- Press operation
- Quality control
- Cutting
- Packing
- Admin work
Use this formula:
Labor cost = labor rate × time
If finishing and packing take 1 hour at $50 per hour:
- 1 × $50 = $50.00 labor
Do not undercharge labor. That is how print shops turn busy days into sad bank accounts.
Step 6: Include Finishing Costs
Finishing is what happens after printing. It can make a basic sheet look polished and fancy.
Common finishing tasks include:
- Trimming: Cutting to final size
- Folding: For brochures and menus
- Scoring: Making a crease so thick paper folds cleanly
- Binding: For books, manuals, and catalogs
- Laminating: Adding a protective film
- Die cutting: Cutting custom shapes
- Foil stamping: Adding shiny metallic detail
- UV coating: Adding gloss or protection
Each step adds time and materials. Some steps also need setup.
Example:
- Trimming: $20 flat charge
- Folding: $0.03 per piece × 1,000 = $30
- Packing: $15
Total finishing:
- $20 + $30 + $15 = $65.00
Step 7: Add Packaging and Delivery
The job is not done until it reaches the customer. Or at least sits nicely in boxes, ready to go.
Packaging may include:
- Boxes
- Labels
- Shrink wrap
- Padding
- Pallets
- Mailing trays
Delivery may include courier fees, postage, fuel, or freight.
Example:
- Boxes and packing materials: $12
- Local delivery: $25
Total:
- $12 + $25 = $37.00
If shipping is unknown, say so in the estimate. You can write “Shipping billed separately” or “Delivery not included.” Clear words prevent future grumbles.
Step 8: Add Overhead
Overhead is the cost of keeping the business alive. It is not tied to one job, but every job must help pay for it.
Overhead includes:
- Rent
- Electricity
- Insurance
- Software
- Equipment leases
- Maintenance
- Accounting
- Phone and internet
One simple method is to add an overhead percentage to direct costs.
For example, if direct costs are $402.50 and overhead is 20%:
- $402.50 × 0.20 = $80.50 overhead
This is not “extra.” This is survival. Printers enjoy lights. Customers also enjoy lights.
Step 9: Add Profit
Profit is not a dirty word. Profit lets the business grow. It pays for better machines. It handles slow months. It rewards risk.
A common profit margin might be 15% to 40%, depending on the job, market, and complexity.
Be careful with markup and margin. They are not the same.
- Markup is added on top of cost.
- Margin is profit as part of the final selling price.
Simple markup example:
- Total cost: $483.00
- Markup: 30%
- $483.00 × 0.30 = $144.90
- Final price: $483.00 + $144.90 = $627.90
You can round this to $628.00 or $629.00. Round numbers are friendly.

A Simple Print Estimate Example
Let’s put it all together.
Job: 1,000 full color flyers, printed one side, trimmed, packed, and delivered.
- Paper: $63.00
- Ink or toner: $80.00
- Setup: $90.00
- Machine time: $17.50
- Labor: $50.00
- Finishing: $65.00
- Packaging and delivery: $37.00
Direct cost:
- $63 + $80 + $90 + $17.50 + $50 + $65 + $37 = $402.50
Add overhead at 20%:
- $402.50 × 0.20 = $80.50
Total cost:
- $402.50 + $80.50 = $483.00
Add 30% markup:
- $483 × 0.30 = $144.90
Final estimate:
- $483 + $144.90 = $627.90
Price per flyer:
- $627.90 ÷ 1,000 = $0.63 each
That is your estimate. No crystal ball needed.
Watch Out for Hidden Costs
Hidden costs are sneaky. They wear tiny ninja shoes.
Look for these common surprises:
- Bad files: Missing fonts, low resolution images, or no bleed
- Rush orders: Faster work usually costs more
- Special paper: Custom stock may have minimum orders
- Color matching: Brand colors may need extra testing
- Proof changes: Many rounds of edits take time
- Mailing rules: Postage and sorting can be complex
- Heavy shipments: Paper is heavier than it looks
Add notes to your estimate. Be clear about what is included. Also be clear about what is not included.
Use a Quote Template
A quote template keeps things neat. It also reduces mistakes.
Your estimate should include:
- Customer name
- Job description
- Quantity
- Size
- Paper type
- Color details
- Finishing details
- Proofing details
- Delivery details
- Price
- Taxes, if needed
- Payment terms
- Expiration date
Add an expiration date. Paper prices change. Ink prices change. Life changes. A quote that lives forever is a gremlin.
Tips to Make Estimates More Accurate
- Use real supplier prices. Do not guess paper costs from memory.
- Track past jobs. Old jobs are great teachers.
- Measure actual time. Guessing time is a profit trap.
- Add waste. Perfect jobs are rare unicorns.
- Ask questions early. Mystery costs grow in the dark.
- Use minimum charges. Tiny jobs still take setup.
- Review before sending. One missing zero can ruin your afternoon.
How Customers Can Help
If you are a customer asking for a print estimate, you can speed things up. Bring clear details.
Tell the printer what you need. Share the quantity. Share the size. Share the deadline. If you have artwork, send it early. If you have a budget, say it. That helps the printer suggest smart options.
For example, changing paper stock may save money. Printing 2,000 pieces may cost only a little more than 1,000. A small size change may reduce waste.
Good print quotes are teamwork. Like pizza. Better when shared.
Final Thoughts
Calculating a print job estimate is not magic. It is math with paper cuts. Start with the job details. Add paper, ink, setup, machine time, labor, finishing, packaging, overhead, and profit.
Keep the estimate clear. Keep the language simple. Add notes for anything uncertain. Then review the numbers before sending.
A smart estimate protects everyone. The customer knows what to expect. The printer knows the job can make money. And the final print project can roll out smoothly, looking sharp and ready to shine.


