


Running both Windows and Ubuntu on the same machine offers the best of both worlds—access to the wide range of apps and games available on Windows, paired with the flexibility and security of the Ubuntu Linux environment. Setting up a dual boot system might seem daunting at first, but with proper planning and a step-by-step approach, it can be accomplished smoothly. This guide explains how to create a dual boot setup using Windows and Ubuntu.
Preparation
Before beginning the installation, it’s crucial to prepare the system properly to avoid data loss and system conflicts.
- Back Up Important Data: Always backup important files to an external drive or cloud storage.
- Ensure You Have Sufficient Disk Space: At least 50GB of free space is recommended for Ubuntu.
- Create a Windows Recovery Drive: In case something goes wrong, this will help restore your system.
Step 1: Install Windows (If Not Already Installed)
If your computer doesn’t already have Windows installed, begin by installing it first. Windows tends to overwrite the bootloader, which makes it preferable to install it before Ubuntu.
Step 2: Create Free Space for Ubuntu
To install Ubuntu, you need unallocated space on your hard drive:
- Boot into Windows.
- Search for “Disk Management” and open the utility.
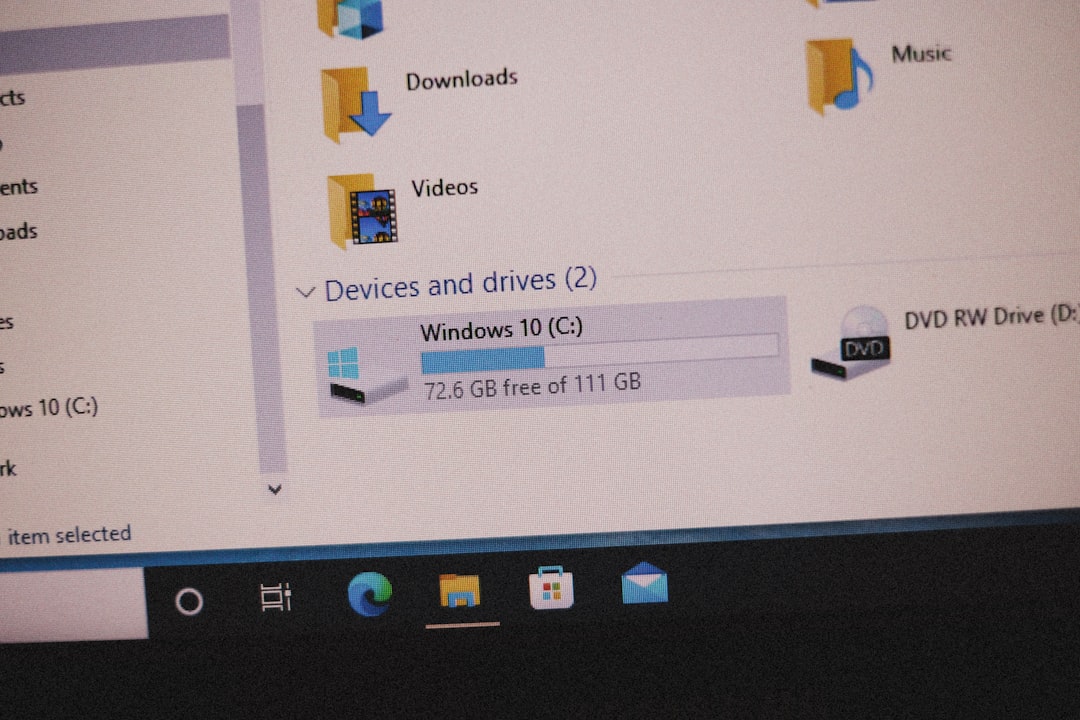
- Right-click on your primary partition and choose “Shrink Volume.”
- Shrink the volume by at least 50GB to make space for Ubuntu.
Step 3: Create an Ubuntu Bootable USB
To install Ubuntu, you’ll need a bootable USB drive with the Ubuntu ISO.
- Download the latest Ubuntu ISO from the official website.
- Use tools like Rufus (Windows) or Etcher to create a bootable USB drive.
Step 4: Boot from USB
Restart your system and boot from the USB drive.
- Enter the BIOS or UEFI settings (usually by pressing F2, F12, or Del during startup).
- Change the boot sequence to start from the USB drive.
Step 5: Install Ubuntu
Once Ubuntu boots from the USB, follow these steps:
- Select “Try Ubuntu” to test before installation or “Install Ubuntu” to proceed.
- When prompted with installation type, select “Install Ubuntu alongside Windows Boot Manager”. If that option doesn’t appear:
- Choose “Something else” and manually select the unallocated space created earlier.
- Create the following partitions:
- Root ( / ) – 30GB
- Swap – 2GB to 4GB if using minimal RAM
- /home – Remaining space (optional)
Step 6: Complete Installation and Reboot
Finish the installation process and remove the USB drive when prompted. Upon reboot, you should be presented with the GRUB bootloader that allows you to choose between Ubuntu and Windows.
Final Tips
- Update Both OS: Regularly update both Windows and Ubuntu to ensure compatibility and security.
- GRUB Customization: Use tools like Grub Customizer to change OS labels and boot priorities.
FAQ
Q: Will installing Ubuntu delete my Windows files?
A: No, as long as you choose the “Install Ubuntu alongside Windows” option or manually partition correctly, your Windows files will remain untouched. However, always back up just in case.
Q: Can I uninstall Ubuntu later and keep Windows?
A: Yes, you can remove Ubuntu by deleting its partition and restoring the Windows bootloader using a Windows recovery or installation disk.
Q: What happens if I don’t see GRUB during boot?
A: This usually means the bootloader wasn’t installed correctly or Windows was installed afterward. You can repair GRUB using a live Ubuntu USB and tools like Boot-Repair.
Q: How do I choose the default OS in GRUB?
A: You can edit the GRUB configuration file or use a tool like Grub Customizer in Ubuntu to set the default operating system.
Q: Can I share files between Windows and Ubuntu?
A: Yes, Ubuntu can read and write to NTFS partitions used by Windows. Just make sure Windows is shut down properly (not in hibernation) to avoid file corruption.


