

?")


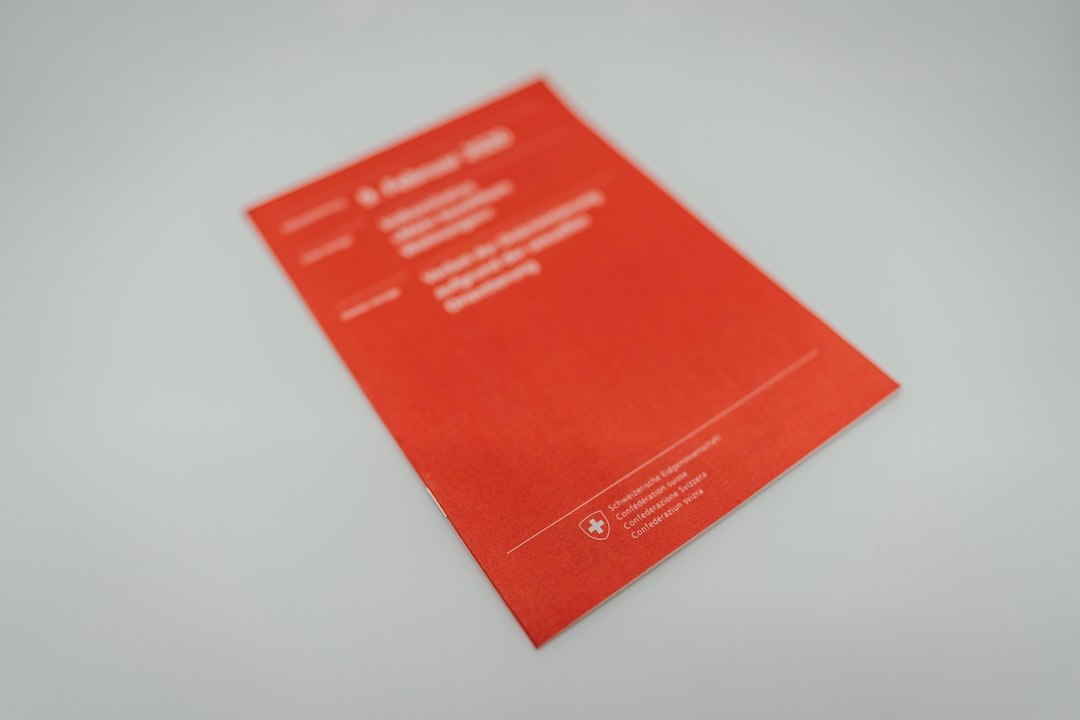
Making a double-sided brochure is easier than you think! Whether it’s for your business, event, or a school project, a great brochure can leave a lasting impression. The key is to keep it clear, catchy, and creative. Ready to dive in? Let’s go!
Step 1: Know Your Purpose
Before opening any design software, ask yourself: What do I want this brochure to do? Maybe you want to promote a product. Maybe it’s about sharing info at an event. Knowing the goal helps shape the design.
Step 2: Choose a Size
Most brochures come in standard sizes. One of the most popular is the tri-fold, which folds a regular 8.5 x 11 inch paper into three panels. You can also go for a half-fold that creates four equal sections.
Here are some popular options:
- Tri-fold: 6 panels (3 on each side)
- Half-fold: 4 panels (2 on each side)
- Z-fold: Like a zigzag!
Step 3: Sketch It Out
Grab a pencil and paper. Sketch where the text and images will go. Think about the front cover — it’s the first thing people will see. Make it pop!
Consider this layout for a tri-fold brochure:
- Front Panel: Eye-catching title, logo, and image
- Back Panel: Contact info, social media, website
- Inside Panels: Main content — tell your story
Step 4: Choose Your Colors and Fonts
Stick to 2 or 3 main colors. Use your brand colors if you have them. For fonts, choose one for headings and one for body text. Too many fonts can be distracting.
Pro tip: Make sure your text is readable. Avoid super light text on a light background.
Step 5: Pick the Right Images
Photos and graphics grab attention. They also help tell your story without too many words. Make sure all images are sharp and high quality.
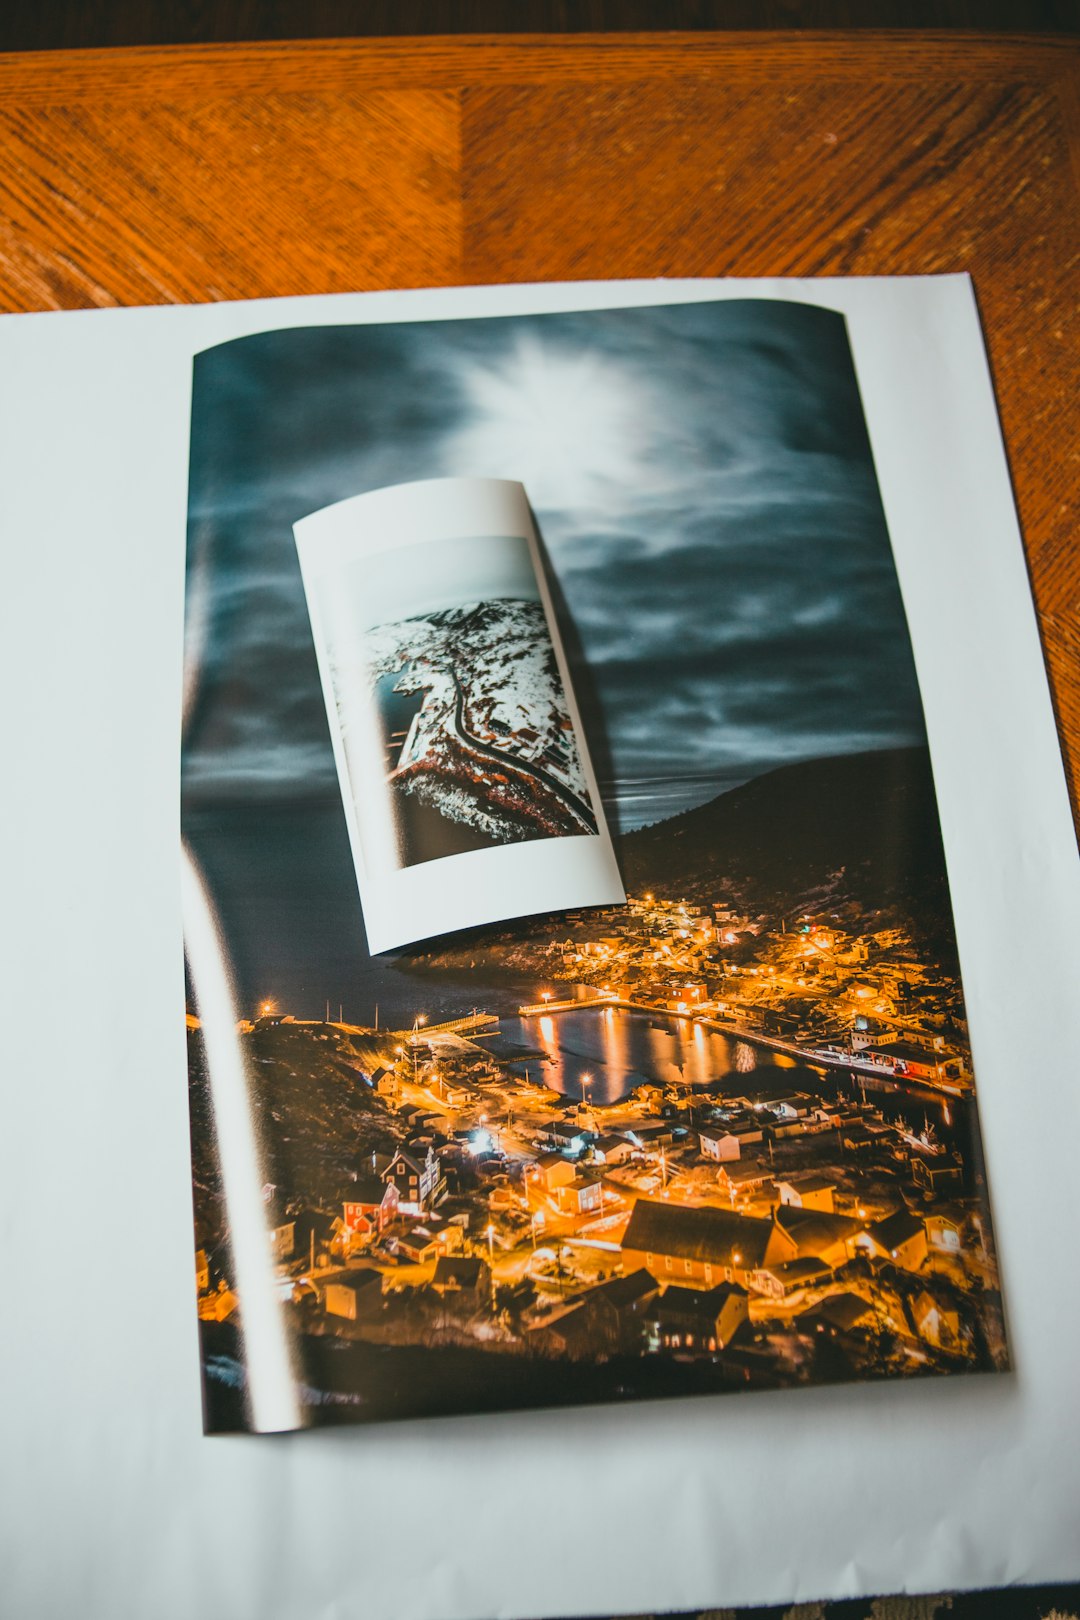
Try to include:
- Photos of your product or service
- Icons for quick navigation
- Illustrations for visual interest
Step 6: Write Your Content
Now that you have a plan, write short, snappy content. Keep your sentences short and easy to understand. Break up text using bullet points or boxes.
Make sure to include:
- A headline – grab attention fast
- Body text – explain what you offer
- Call to action – tell people what to do next
Step 7: Design Time!
Use design software like Canva, Adobe InDesign, or even Microsoft Word. Upload your text and images. Place everything where it belongs in your sketch.
Double-check the layout for the front and back. The folds matter! Make sure nothing important lands in a crease or on the wrong panel.
Step 8: Proofread & Test Print
Get a friend to proofread your content. Then, print a test version. Check alignment, folds, and margins. Is anything blurry or too close to the edge?
Step 9: Print Like a Pro
Use quality paper and a good printer. Glossy paper gives a shiny, professional look. Matte paper is smooth and easy to write on. Choose what fits your message and audience.
Step 10: Fold and Distribute
Now comes the fun part — folding and sharing! Fold carefully along the lines to keep your brochure neat. Then hand them out, leave them in shops, or include them in packages.
Final Thoughts
Designing a double-sided brochure is all about balance. You want it to look good, read well, and grab attention. Stick to a plan, use great visuals, and keep your message clear.
Now go on — start creating your masterpiece!


